Documentation >
How-To Guide for GigaFlow GigaFlow requires Oracle Java 1.8 and PostgreSQL 9.4 or above.
The recommended platform for GigaFlow is Windows Server 2008+ 64 bit, English Edition. Installation must be performed using a local administrator account, not a domain administrator account.
GigaFlow will install:
- Oracle Java 1.8.
- PostgreSQL 9.5.
- The Gigaflow Service.
When complete, a new service called GigaFlow will be running and enabled when the server starts up. On running the GigaFlow installer, the installation proceeds as follows:
1. This is the GigaFlow Setup welcome page:
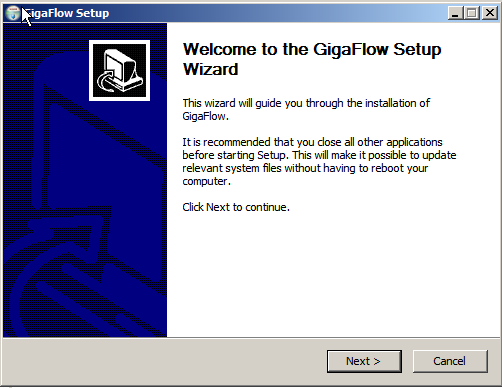
Click Next to continue.
2. On the next page, you can choose whether or not to install start menu shortcuts:
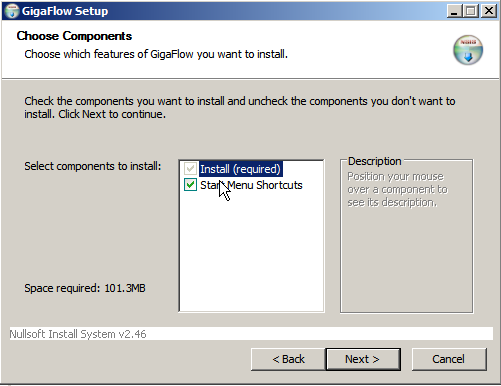
Click Next to continue.
3. The next page displays the GigaFlow End User License Agreement (EULA); you must agree to the terms of the EULA to continue the installation or to use the product.
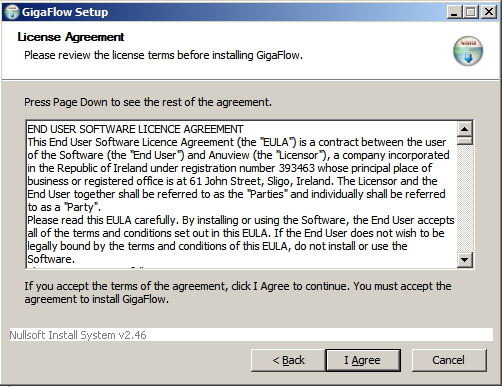
Click I Agree to continue.
4. On the next page, you are reminded of the system requirements for GigaFlow:

Click OK to continue.
5. After accepting the license agreement and acknowledging the reminder, you can define:
- The ports that GigaFlow will listen on for the product UI.
- How much RAM the product can use. This does not include PostgreSQL requirements.
- The location of the GigaFlow database. The path name must not include spaces.
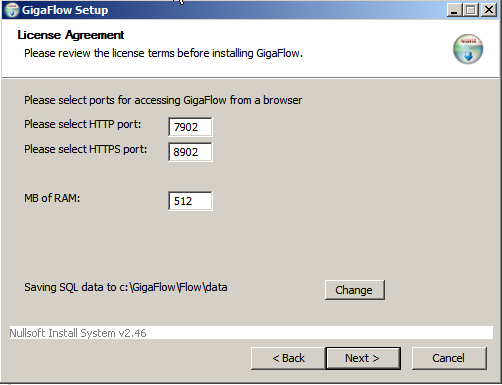
Click Next to continue.
5. Select a location for the GigaFlow application files. Again, the path name must not include spaces.
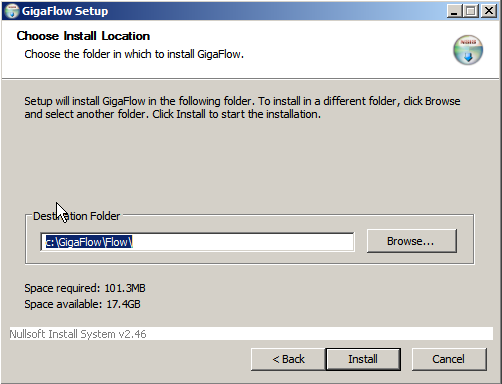
Click Install to continue.
6. When the installation is complete, you can click Show Details to see what the installer did.

Click Next to continue.
6. The installation is now finished. With the Run GigaFlow tick box checked, the installer will open the GigaFlow User Interface in your default browser when you click Finish.

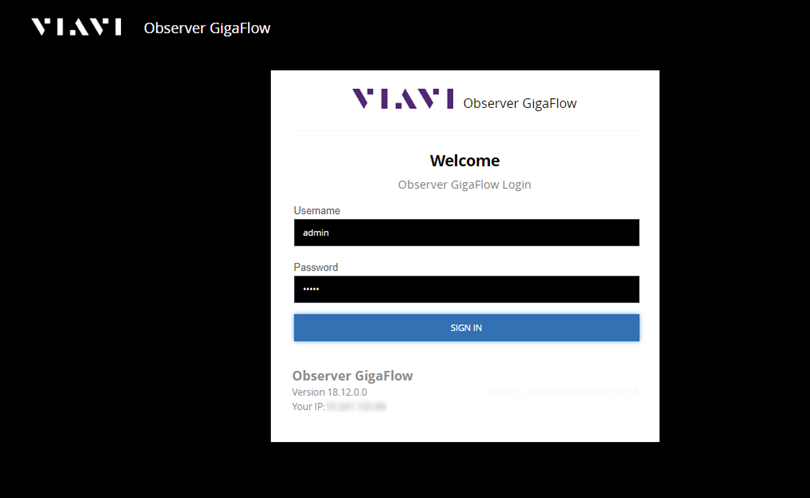
7. Your browser will open at the GigaFlow login page. The default credentials are:
- Username: admin
- Password: admin
Below the login panel, you can see your GigaFlow installation version details.

7. Logging in for the first time, you will be prompted for some information:
- Server Name is your name for this server. It does not have to be the same as the server hostname. The Server Name will appear in the web browser title bar.
- Minimum Free Space is the minimum free space that you want to maintain on disk before purging old data. This is typically 10% of your total disk space.

You are ready to use GigaFlow.
See the GigaFlow Wiki for further installation notes.
Logging In
Figure: GigaFlow's login screen
- Go to gigaflow.viavi.com from any browser.
- Log in using your credentials.
- GigaFlow will open on the Dashboards welcome screen.
See Login in the Reference Manual.
Give the Server a Name
After logging in for the first time, you will see:
You have not yet configured your server name, please do so below. This does not have to be the hostname.
Enter a name for your GigaFlow server. This will be used in the title bar and when making calls back to the Viavi home server.
See System > Global in the Reference Manual for more. You can change the server name at any time by navigating to System > Global.
Assign Disk Space
After logging in for the first time, you will also see:
Please select how much free space to keep on disk before forensic data is aged out.
This is the minimum free space to maintain on your disk before forensic data is overwritten. The default value is 20 GB.
Enter a value and click Save.
See also System > Global in the Reference Manual for more. You can change the storage settings at any time by navigating to System > Global > Storage.
Enable Call Home Functionality
Enable GigaFlow's call home functionality by configuring the proxy server, if one exists, at System > Global> Proxy. This information is required for several reasons: (i) to allow GigaFlow to call home and register itself; (ii) to let us know that your installation is healthy and working; (iii) to update blacklists. All calls home are in cleartext. See System > Licences for more. The required information is:
- Server ID. This is the unique server ID; it is sent in calls home.
- Proxy address. Leave blank to disable proxy use.
- Proxy port, e.g. 80.
- Proxy user.
- Proxy password.
- Click ? to test the proxy server.
- Click Save
 .
.
See also System > Global in the Reference Manual for more.
Install License
You must enter a valid license key to use GigaFlow. Enter your license key in the text box at the end of the table at System > Licenses. Click ADD to submit.
See also System > Licenses in the Reference Manual.
Enable Blacklists
To begin monitoring events on your network, subscribe to one or more blacklists at System > Watchlists.
See also System > Watchlists in the Reference Manual.
Enable SNMP
To poll your network infrastructure devices, you must provide GigaFlow with SNMP community strings and authentication details. You can do this at System > Global.
SNMP V2 Settings
Enter the community name in the text box and click Save.
SNMP V3 Settings
- Enter the new SNMP V3 community name.
- Enter a user name.
- Auth Type, i.e. MD5 or SHA secure hash functions.
- Enter an authentication type password.
- Privacy Type, i.e. AES-128, AES -198, AES-256, DES or 3DES.
- Enter a privacy password.
- Enter a context. SNMP contexts provide VPN users with a secure way of accessing MIB data. See Cisco and the Glossary for more.
- Submit by clicking Save.
See also System > Global in the Reference Manual.
Enable and Test First Packet Response
First Packet Response (FPR) is a useful diagnostic tool, allowing you to compare the difference between the first packet time-stamp of a request flow and the first packet time-stamp of the corresponding response flow from a server. By comparing the FPR of a transaction with historical data, you can troubleshoot unusual application performance.
To begin using First Packet Response, you must specify the server subnets that you would like to monitor. Navigate to Configuration > Server Subnets.
Select the Server Subnets tab and enter a server subnet of interest. To add a new server subnet:
- Enter the subnet address.
- Enter the subnet mask.
- Click Add Server Subnet.
- Click Cancel to clear the data entered.
By clicking on the Servers tab, you can view a list of the identified servers that will be monitored. You can see a realtime display of the First Packet Response by clicking to enable the ticker beside each server.
By clicking on the Devices tab, you can view a list of infrastructure devices - routers - associated with the server subnets of interest.
Reports for all active monitored servers can be viewed at Reports > First Packet Response.
See also Use First Packet Response to Understand Application Behaviour in the How-to section and Configuration > Server Subnets and Reports > First Packet Response in the Reference Manual for more.